
Using the Gradient Tools
ArtMatic has two basic types of trees:

- Gradient-based,
- RGB-based.
The tree’s type is determined by the number of outputs from the tree’s last tile.
RGB-based trees
Section titled “RGB-based trees”RGB-based trees have 3 or more outputs from the tree’s last tile. The colors of the final image are generated by the tree itself, so generally the current gradient has no effect on the image (there are a few exceptions where a specific tile) For example: 2:3 RGB Main Gradient – makes use of the active gradient inside an RGB tree.
Gradient-based Gradient-based trees have a one or two output tile at the bottom of the tree, and use the colors of the active gradient to shade the image.
How the colors of the active gradient are mapped to the image generated by the tree depends on the Color Shading Tools.
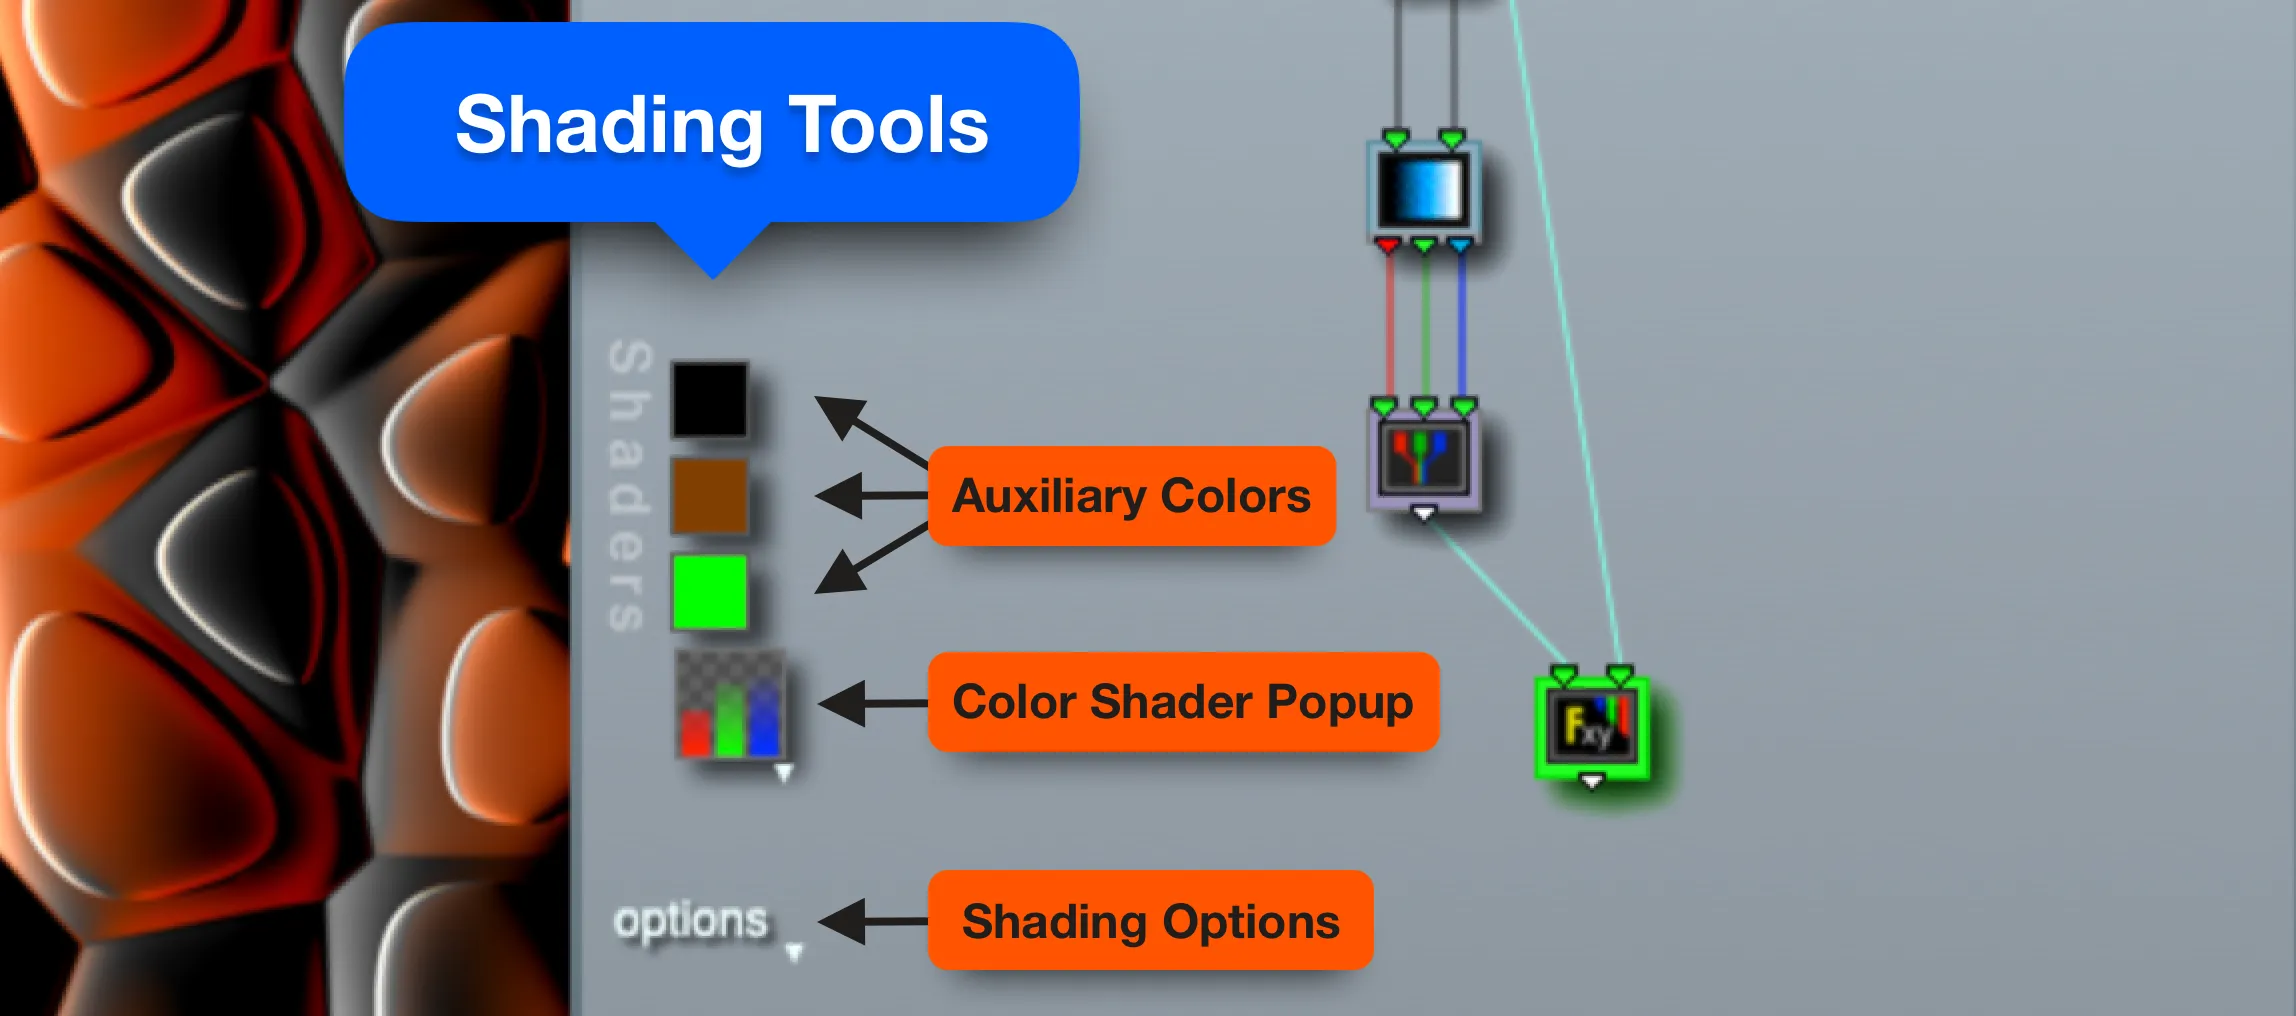
- Color shading algorithms are selected from the Color Shader Popup.
- Auxiliary Colors are used by some of the algorithms, and their colors can be changed. Click and hold a swatch to open a color picker.
- Additional Shading Options may be selected.
In general, how each portion of the gradient is mapped to the tree depends on the surface elevation of each point generated by the tree. In most cases low elevation values will be mapped to the left-hand color of the gradient and higher values are mapped to the colors further right.
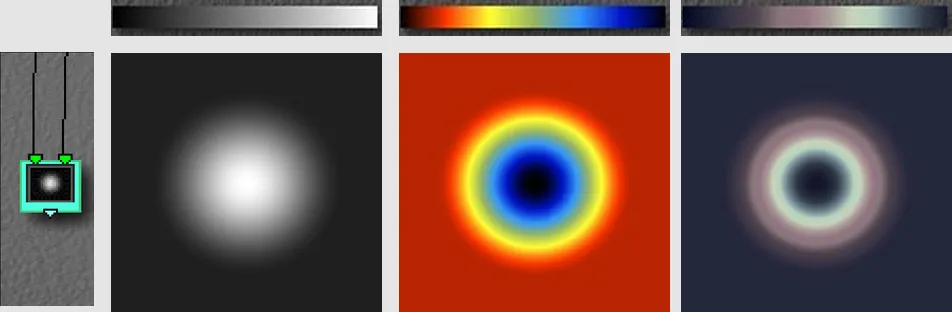
This simple tree has just one component: ‘Gaussian Dot’, which maps a circular bump or mound into the space fed to it (here a normal 2-dimensional plane). The mound’s elevation is mapped to color with the current gradient. The lowest elevation is represented by the leftmost color, and the highest elevation is mapped to the rightmost color. The images here were all rendered from the same tree but using different gradients.
Gradient Tools area
Section titled “Gradient Tools area”The Gradient Tools area of the Designer window allows users to modify gradients and the gradient list (library).
What is a gradient?
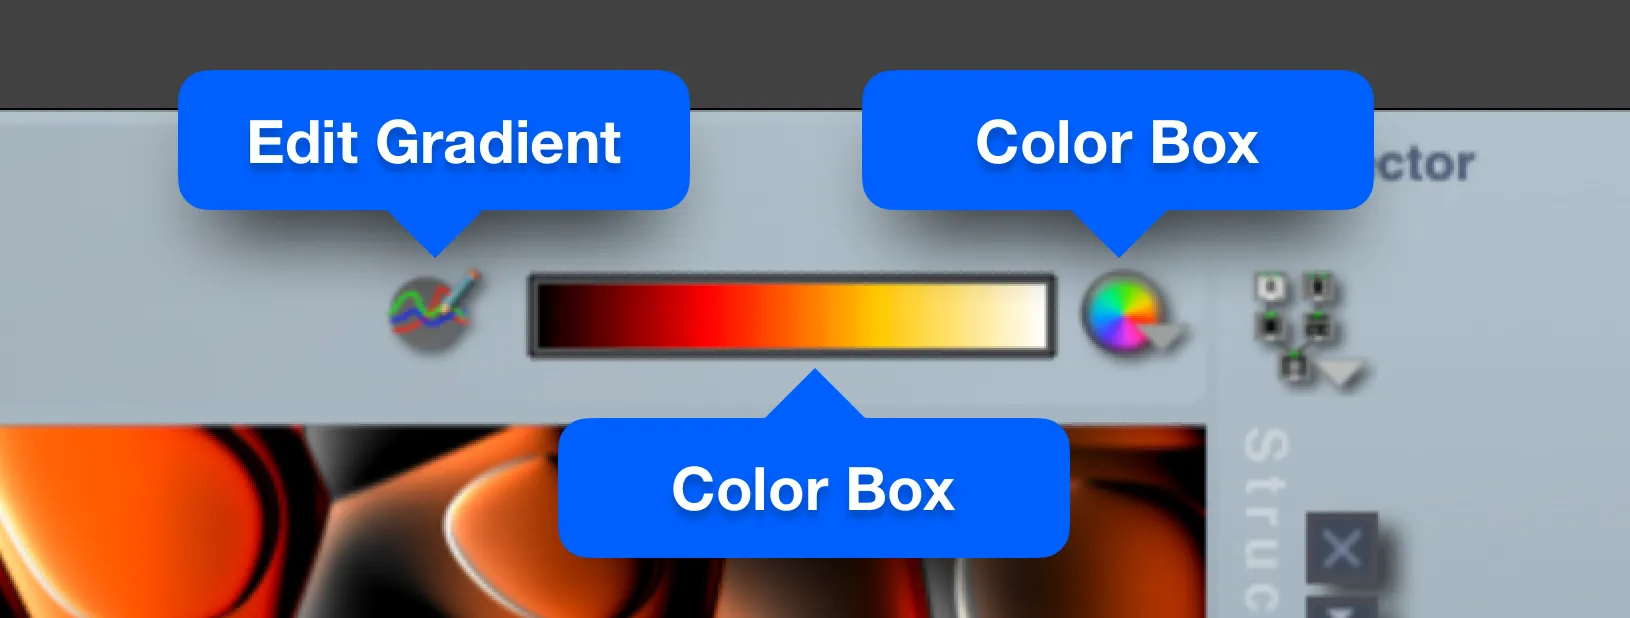
Section titled “What is a gradient?”A gradient is a special type of palette that has a user-definable number of color slots. Each slot has its own color. ArtMatic automatically generates all the colors that lie between adjacent slots by linear interpolation; so with a few mouse clicks you can create rich palettes. For example, if you want to create a palette that goes from black to white with all the shades in between, you only need a gradient with two slots. Select black as the left-hand color and white as the right-hand color, and ArtMatic does the rest. Each keyframe can have its own gradient.
The color box displays its separate color slots when you hover the mouse pointer over it. Click on any color slot of the gradient to choose another color from a popup color picker.

With the Shift key down the change is stored into all keyframes. Use Edit Gradient (below) for structural changes and more editing options.
Choose gradient
Section titled “Choose gradient”
This button lets you choose a Main Gradient from among the built-in list of gradients.
If you create a new gradient, you can choose store palette to save this to a spare slot in the palette list.
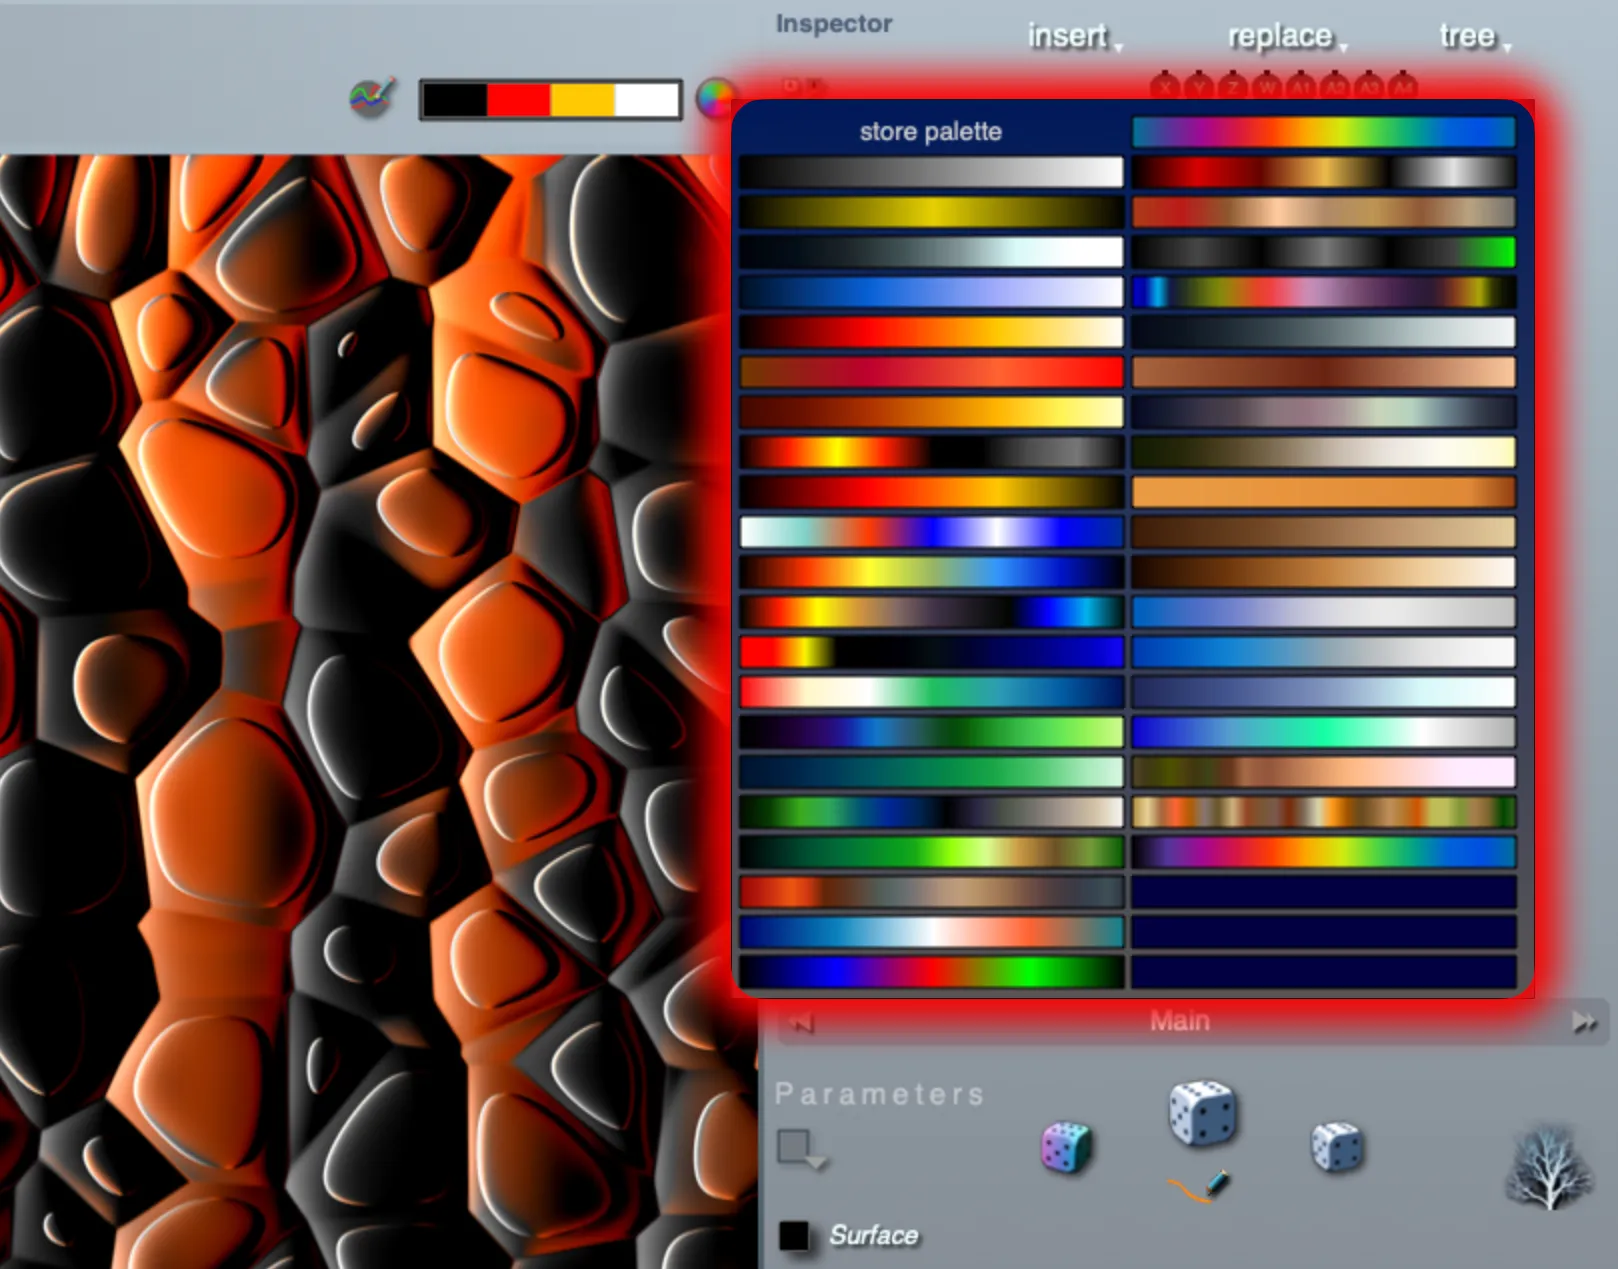
If you hold Option while clicking the button to open the list, and then click a palette, that palette will be deleted from the list and the empty slot will be available to be filled with a new gradient.
The active palette will be saved with that ArtMatic file, even if it has not been stored to the list.
Edit gradient button
Section titled “Edit gradient button”
This button calls the standard U&I Gradient Editor to modify the Main Gradient.
The top color box here works the same as the one displayed in the main interface, but more detailed editing is possible.

The plus and minus buttons at each end of the color box let you delete or add the last (right-hand) color slot. This will reduce or increase the number of slots making up the palette.

The double arrow below the color box allows you to ‘rotate’ the palette, sliding the gradient left or right.
The button immediately below the plus button allows you to resample gradient by selecting the number of color slots you want the current gradient changed to.
The separate Red, Green and Blue Color Boxes can be adjusted by clicking and dragging individual color slots, allowing fine control over the resulting combined color. To the right of each of these color boxes a +/- button lets you offset components up or down, increasing or decreasing the strength across the board of the red, green or blue components.
Gradient Dialog
Section titled “Gradient Dialog” This button opens the Choose Gradient dialog; same as that discussed above.
 Click and drag this button to Blur Palette.
Hues, Saturation…
Section titled “Hues, Saturation…”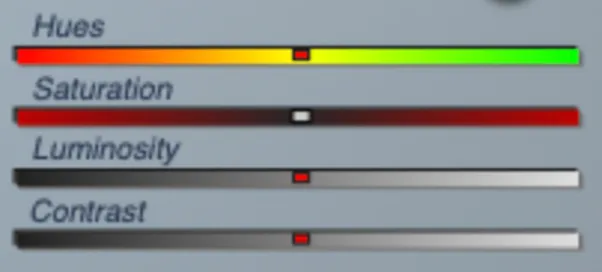
Move these sliders left or right to modify the overall gradient. All relevant slots in the Red, Green and Blue color boxes are adjusted. It can sometimes be easier to achieve a desired outcome using the sliders than by manipulating color slots directly.
Gradient transformations
Section titled “Gradient transformations”Click on one of these action words to achieve the described transformation of the whole gradient. Actions are applied to all color slots in the R, G & B color boxes.
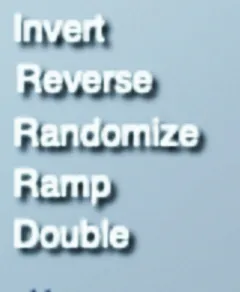
For example, Invert shifts fully-filled color slots to fully-unfilled, 25%-filled slots to 75%-filled, etc.
Ramp creates a linear progression from the value of the left-most color to that of the right-most color, ignoring any other colors in between.
Gradient/Palette List Management
Section titled “Gradient/Palette List Management”While individual gradients can be added to or removed from the gradient/palette list in the Choose Gradient popup, the Edit Gradient popup dialog lets you manage multiple lists.

Clicking on these words lets you manage gradient/palette lists (libraries). By default, ArtMatic Designer uses the list saved in the Applications/ArtMatic Designer CTX folder, Palettes.glst. You can, however, open and use different palette lists. Designer will ‘remember’ your last used list when next you open ArtMatic.
Save lets you save the current gradient/palette list to a file outside ArtMatic.
For instance, you may have deleted a number of unwanted palettes from the standard list and replaced them with new ones you created. You can save this new list under a new name (e.g. Palettes B.glst); it does not need to be saved in the Applications folder.
If saving alternate palette lists, it might be advisable to save a backup copy of the original default list.
Open lets you open a new (or previously saved) gradient/palette list.
Note: ArtMatic Voyager can make use of the same Gradient Tools to apply colors to a terrain in ‘Altitude gradient’ mode. The same principle applies: low elevation values of the terrain will be mapped to the left-hand color of the gradient and higher elevations are mapped to the colors further right. Lists saved from Designer can be opened in Voyager (and vice versa).